
There are situations when you want to create a map with selected tracks and share this map with your customer as proof of work done, for example, a flyer distribution or leaf and dirt cleaners.
MyCarTracks offers you a way how you can easily select recorded tracks and create a shared map with these selected tracks. You can do that by following these steps:
- In the web application go to Tracks and tab List
- Optionally use the Adjust filter button to filter out tracks you want to share
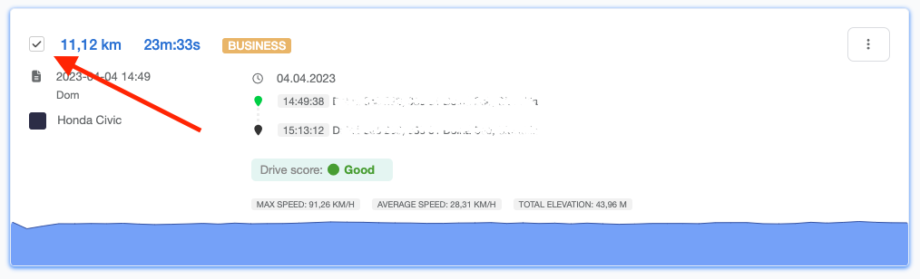
- Now you can select tracks that you want to add with a checkbox that is on the left on every row. If there is no checkbox then you’re not allowed to share such a track.
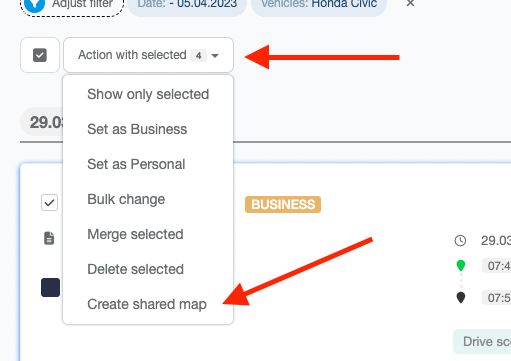
Hint: To select all tracks, use the Select all button above the tracks. - After you’re done with the selection click on the Action with selected button on top of the list and select Create shared map option:
- This will create a shareable link and redirect you to existing shared maps. You can access this list anytime from Configuration > Map sharing or Tracks > Sharing:

. - You can now copy this new link and send it to your customer.
.
Advanced feature-rich map with Google My Maps
Google My Maps offers you the ability to create a map with tracks that are then selectable with details and also offers the ability to add custom layers or draw zones on the map. This map can then be also shared with your customers. Follow these steps to create such a map:
- In the MyCarTracks web application go to Configuration > Map sharing.
- Scroll to the sharing from which you want to create Google Maps. On the right click on the three dots button and select Download KML:
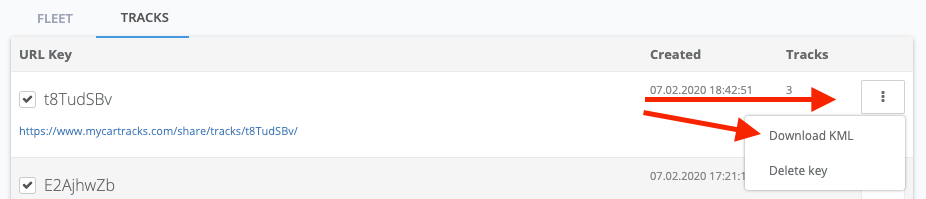
. - Now that the KML is downloaded to your computer you need to continue with Google Maps. Log in to your Google Drive.
- Click the + New button and select More > Google My Maps
- On the top right click on Untitled map and set some meaningful name.
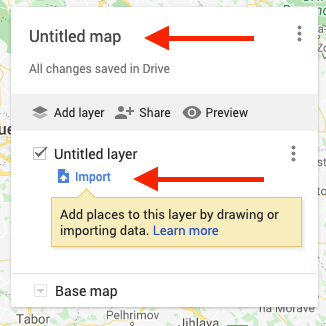
- Then click on Import. This will show a window where you can drag and drop KML files.
- Drag and drop or use the Select a file from your device button and locate the KML file you downloaded in steps 1 – 2.
- This will import all the tracks and draws them on the map. If you want to add another layer with more tracks use the Add layer button in the left panel. You can also individually change the colors of each track or add more details like photos to any track.
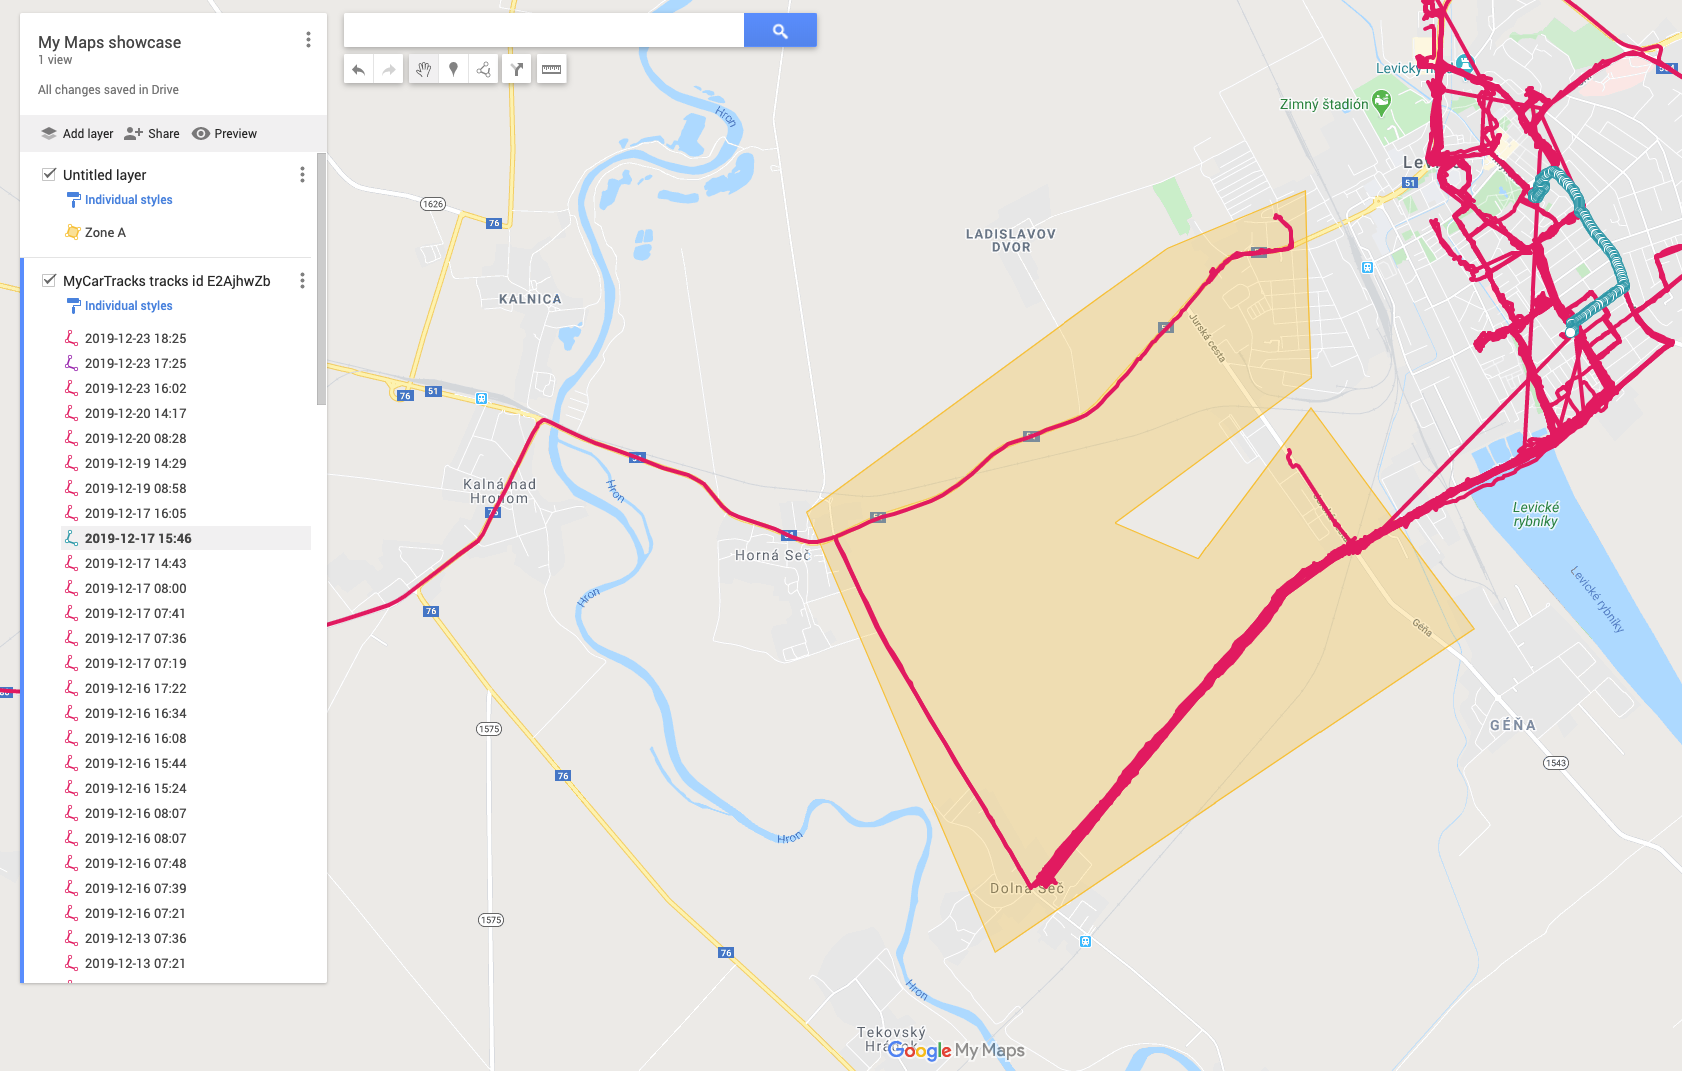
- With Add layer, you can also create a layer on which you can draw a zone with the draw line button located below the search bar – see above the orange zone that was drawn.
- After you’re satisfied with the result use the Preview to view how your customer will see the map or the Share button to send the link to the customer.