
Zapier is a platform where you can automate workflows with the use of world-known tools like Google Docs, Slack, Airtable, and more than 2000 other integrations.
In this example, we will create a workflow that will obtain and move tracks for the selected vehicle and time interval into Google Sheet. We will use the Chrome Zapier Push extension therefore you need to use the Chrome browser and install the Push by Zapier plugin.
Before you start you also need to click here and follow the steps to get Client ID and Secret that will be needed for connecting Zapier with MyCarTracks.
After you have your API credentials and plugin installed, follow these instructions to create an empty Google Sheet for later use:
- Go to Google Sheets and, if you’re not already, log in.
- Create a new blank spreadsheet – for this purpose name it MCT mileages.
- You must add header – Enter column names in the first row, for this example we will add items as on the image below.

Now we are ready to create the Zap
- Log into or create your Zapier account.
- Click on Make a Zap button.
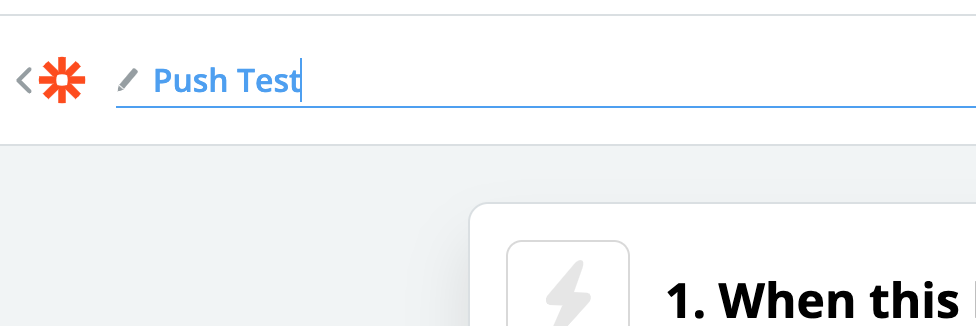
- On the top edit, “Name your zap” and name your zap – put an identifier that will help you to recognize this zap.
- In Choose App & Event search for “Push” and select Push by Zapier.

- Select the New Push With Fields trigger and click CONTINUE.

- In Customize Push enter two Form Fields: Start Date, End Date and click CONTINUE.

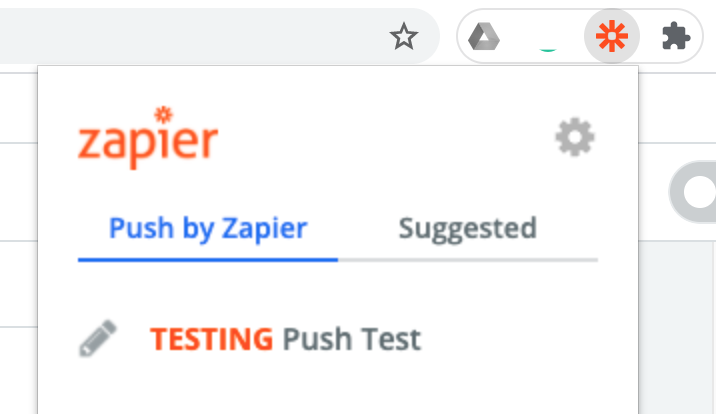
- Now you need to connect with the Chrome plugin. You should see the Zapier plugin in your extensions bar on the top in your Chrome browser. Click on it and then click on the one labeled TESTING.
- Enter the Start and End date. Put it in format YEAR-MONTH-DAY HOUR:MINUTE:SECOND, see the image below. Enter a start and end date that you know there are some existing tracks for the vehicle we want data from. This is just for testing but you need to cover existing data. Later you will be able to set any date you want data for.
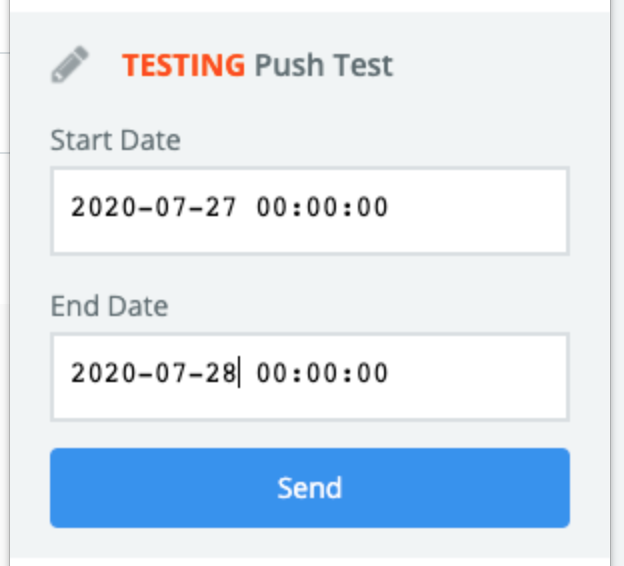
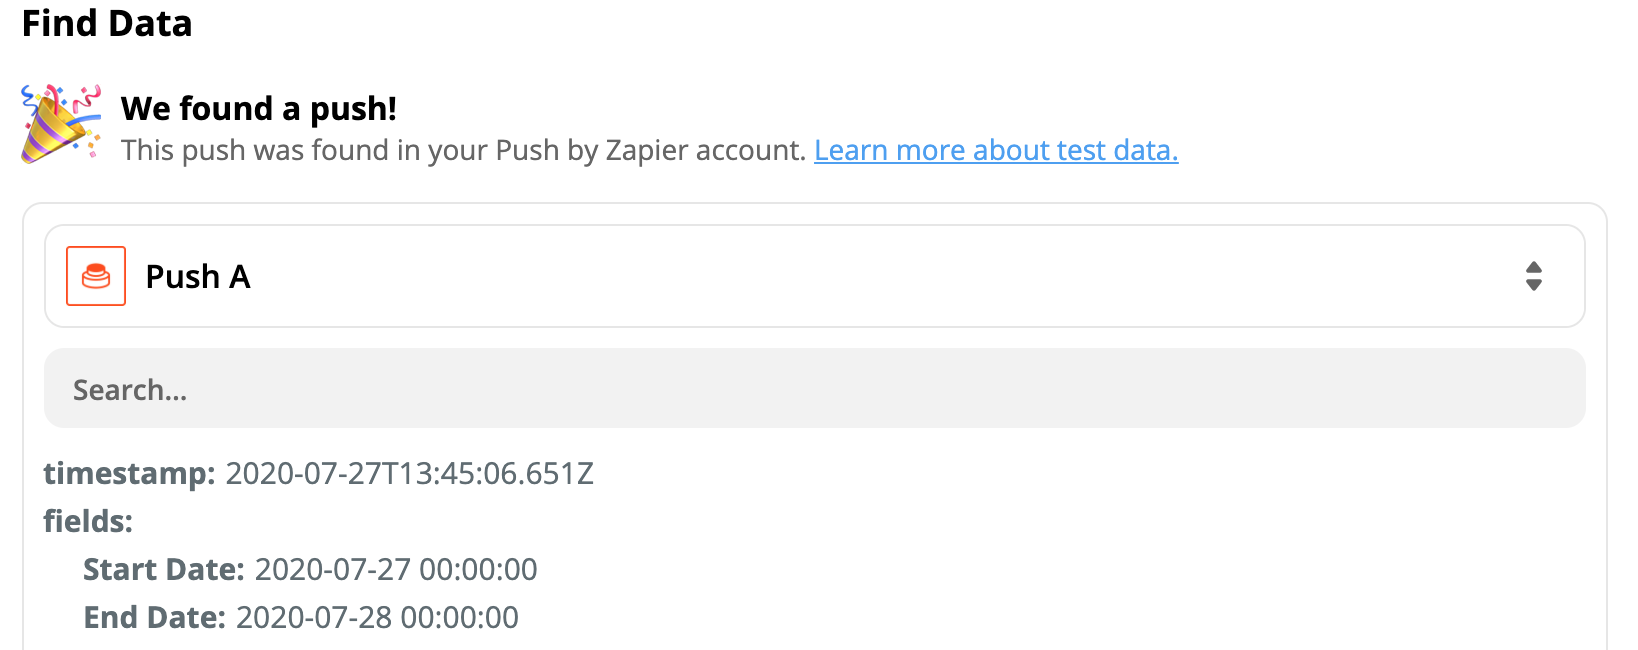
Click the Send button. It should show a green successful test. - Now back in the Zapier integration click on the Test trigger button. It will show a successful notification that it found the data. Click the CONTINUE button.
- Now you will be asked to select the Do this… action. Search for MyCarTracks and select it.
- Select the Find Tracks action and click CONTINUE.

- Click the Sign in to MyCarTracks button. A new window pops up where you need to enter Client ID and Client Secret that you should have when you followed the instructions mentioned above. Enter them here and connect. After a successful connection click the CONTINUE button.
Please note that if you already created any MyCarTracks integration you can just select the existing account. - On the Customize Track step select the Driver or Vehicle for which you will be obtaining the tracks.
In the Start Time field search for start time and select the Fields Start Date.

- Repeat the same for the end time but search and select the Fields End Date.
- You can also use other filtering options if you need them or leave them empty. Click CONTINUE.

- Now click on the TEST & CONTINUE button. It should search for existing tracks in MyCarTracks and show you a message that a track was found.

- Now click on the blue + to add the next step after the MyCarTracks step. Search for Google Sheets and select it.
- Click on the Create Spreadsheet Row(s) option and click CONTINUE.

- Now you need to select existing Google connection or sign in to Google Sheets with the Sign-in button – click it and follow the instructions.
- After you’re connected search the Spreadsheet (MCT mileages) that you created following the instructions above.
- Now you need to match the columns from the header with the data from MyCarTracks. Click on each entry and select the correct match as on this image:
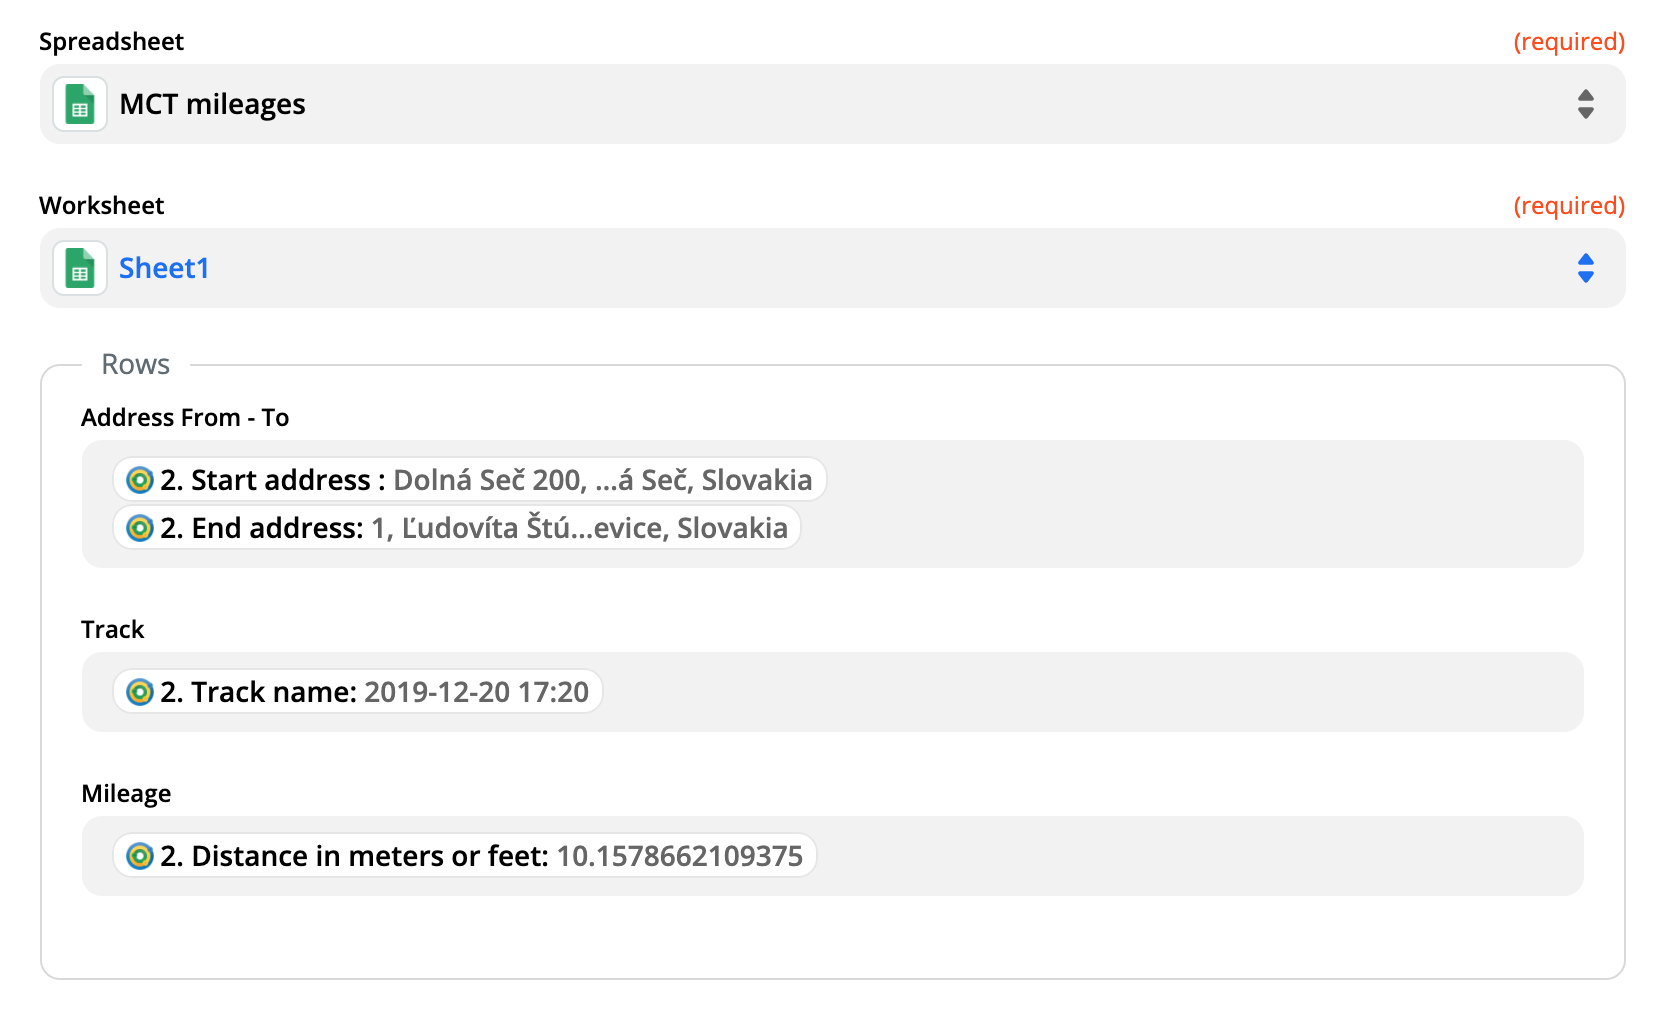
- Click on the CONTINUE button.
- Now click on the TEST & CONTINUE button – you will see that a test entry was sent into the Google Sheet. You can remove this entry.

- Click on the TURN ON ZAP button. Now the zap is running and downloading data when a new track is available.